1) pick a fresh leaf (2-3cm, not hairy). It's the back of the leaf that gets painted, so check that has lots of lovely veiny texture.
2) Use a small (cheap) paintbrush to apply a thin layer of paste to the underside of the leaf.
3) Let it dry slowly (e.g. overnight)
4) Apply additional layers of paste and repeat the drying process until you have made up at least 5 layers of paste (2-3mm thick).
5) Make a hanging bail by rolling and cutting out a small rectangle of PMC3. Wrap this rectangle around an oiled wooden skewer or small straw. Partially dry then remove the skewer/straw & let it finish drying. (Alternatively use a purchased fine silver "poke in" loop & attach a jump ring after)
6) Attach bail to the back of the pendant, using a little more paste/slip as "glue".
7) Torch or Kiln Fire the pendant (the leaf will burn away). Don't worry of there's more smoke than usual (it's the leaf burning away)
8) Brush the "white" off with your steel/brass brush & rub down with fine polish pads
Sunday 12 August 2018
Saturday 11 March 2017
Making embossing frames
Embossing frames
I couldn't find quite the embossing folder I could view in my mind (frame with room for text or something in the middle, and some texture and interest around the edge). So I made one (or several, I wanted a heart, but that wasn't so successful so I settled for a circular frame and an oval frame).
I used around 6-8 layers of card, which was about the height of the one of my clear plates on my bigshot. Such that I could use my home made layer instead of the card plate. However, in some instances, this wasn't quite enough and I had to use my silicone mat as well eg for the spellbinders impressibilities. Although I cut each layer out and glued them together as a stack, it might be that using a layer or two of cereal boxes works as well depending what plates you use etc.

Conclusions:
most effective with embossing folders with a lot of pattern and a simple shape frame. I tried a heart with a background of cogs, but had too much space inbetween cogs, you lost the heart shape! I tried using the middles to make a shape which could be embossed in the center (or else where), but that wasn't so effective (or maybe I'd not worked out how to make the best use of it).
Materials used:
Embossing folders: x-cut cable knit, Sue Wilson Daisy Burst & Spellbinders impressabilities flowers
Dies: Tattered lace delightful flowers, SU butterfly embosslits & button from My Favourite Things Button Border die
Stamp: Stylized Birthday from Stampin up
Inks: Distress inks - evergreen bough, blueprint sketch & chipped sapphire
Friday 3 July 2015
friends
This card is made from Stampin Up friends who know (from 2014 catalogue).
.
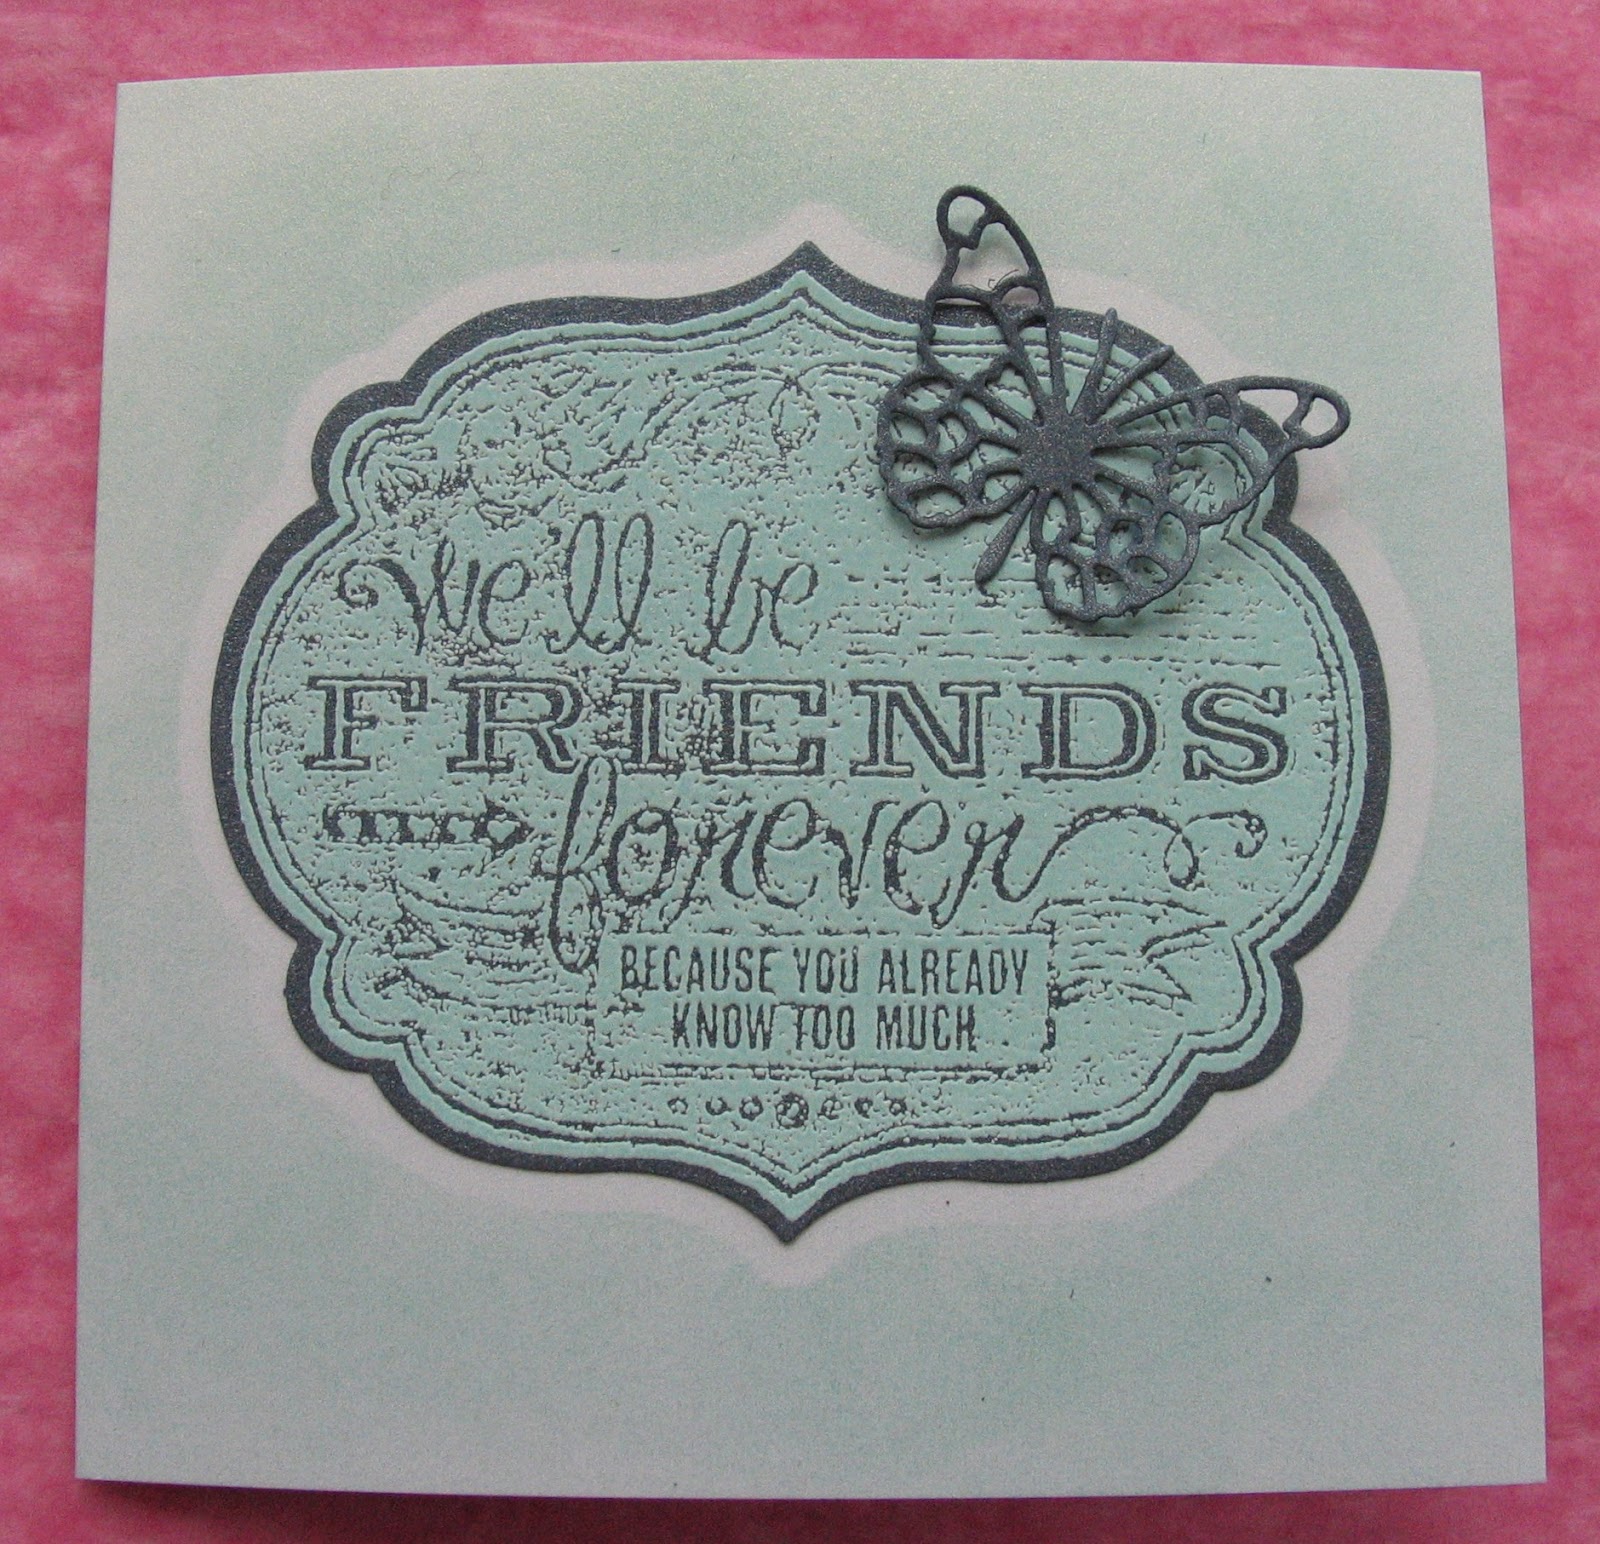
I've stamped and embossed in pool party on to navy card (I like the coloured embossing - so effective especially on coloured card). As the stamp co-ordinates with labels framelets, I've used one to cut out my image, and a larger one as a mask when sponging the background. The butterfly is a memory box butterfly and is just the finishing touch.
Hello Baby
Both girls have friends with babies on the way, and requested baby shower cards. Both are using memory box dies (so cute).
This one is using a background made from photo paper (nice and shiny). The baackground roughly brayered and sponged, using for inks/card pool party, calyspo coral and hello honey (not sure if a boy or girl, so played safe with yellow) and wanted to stay away from too obviously pastel baby blue and pink).

This one is so cute - love the little onsie die. This uses baya breeze ink which is sponged on to neutral seam binding ribbon and a onsie. The embossing folder is Couture creations tied together.

Congrats Rachel & Laura.
Sunday 1 March 2015
Chocolate Baroque - Punky Flowers
I've been playing with some new Chocolate Baroque stamps. Both cards shown here use the Punky Flowers set. But two completely different syles.
Steam Punk cogs - the spiky flowers are stamped and embossed in gold, the larger flowers were left to dry a bit, and so the embossing powder has taken less. This was to try and give an illusion of depth. The yellow is SU Hello Honey, such a lovely old gold type colour. Although the background was sponged and coloured, I gave some texture by using an embossing folder with cogs.
This card is for my niece who is studying science - Happy 21st Jen!

In the same set are some lovely art deco flowers which I embossed on to some card I had inked, and added a sentiment from the Chocolate Baroque Mackintosh sentiments. The inky background is SU Blackberry Bliss (I know its more purple really, but when watered down and smudged across the paper is this gorgeous pinky purple) and Hello Honey.

Wednesday 17 December 2014
Happy Christmas - 2014
Its been so long since I posted on my blog, at times I feel like I'm a hamster on a wheel, but still making cards to relax! Maybe over the Christmas break I might post a few more here.
This is using darkroom door stamps - Stitched Christmas and Word blocked Christmas. The Christmas tree is embossed in Stern (Tannengrun) embossing powder - such a lovely Christmas green. Being really lazy this year, I used card blanks from Craft Creation - this is using Ash which is such a lovely soft grey. I also used some dark green mulberry paper - I thought it went with the stitched effect looking a bit like torn material.

Happy Christmas
Its my last day of work tomorrow, then a weekend trip to visit my mum before returning home to prepare for christmas, with my youngest coming home from Uni on Monday. Will be nice to have the family back together.
Friday 14 February 2014
Bee Happy
I've been playing with some Chocolate Baroque Bees. My daughter gave me these stamps last year, but with one thing and another, I'd not started seeing how I could use them until recently. The bees on the flower, was just crying out to be used with my new circle thinlet.

Because its been so gray and damp, I've not been able to take good photos, and as a result this was scanned in using my scanner.
This card is made using SU circle thinlet - I've used A5 piece of card (slightly trimmed, so that my card is actually longer than the die - if the card is the same height as the die, just post it in, leaving an end over the top of the die furthest from the circle), this gives a flap to fold over and means you can write inside the card.
One side is embossed with a honeycomb embossing folder (this is one of a set of three small strips from Darice). I have used a Cheery Lynn Honeycomb frame to make a stencil which I've sponged in SU So Saffron, Peach Parfait and Crumb cake. I've stamped Happy from Chocolate Baroque Words of Wisdom and used Bees from Chocolate Baroque Honey Bees in Soft Suede (such a lovely colour). The main image is from the same set, and was coloured in using markers, and then fussy cut and stuck with a wing over hanging. The Bees wings are painted in Frost White shimmer paint - this gives a lovely translucent effect. Inside the card, there are the same bees/honeycomb, and on the back of the circle there is a Happy Bee Day stamp (from Inkadinkado, in case you are wondering - bought over t'internet from the US).
Subscribe to:
Posts (Atom)